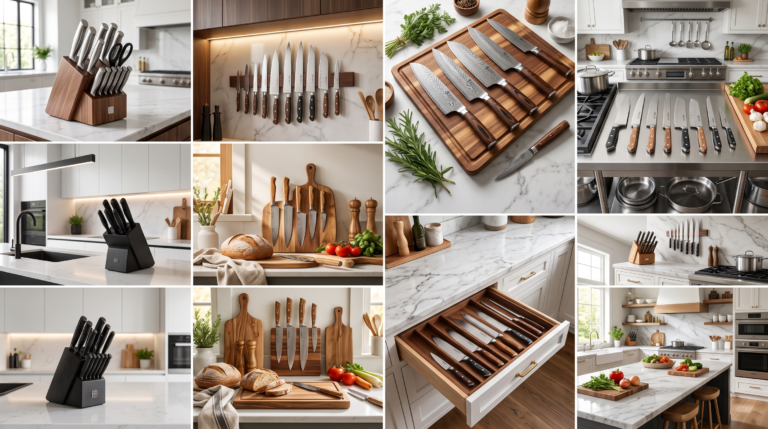
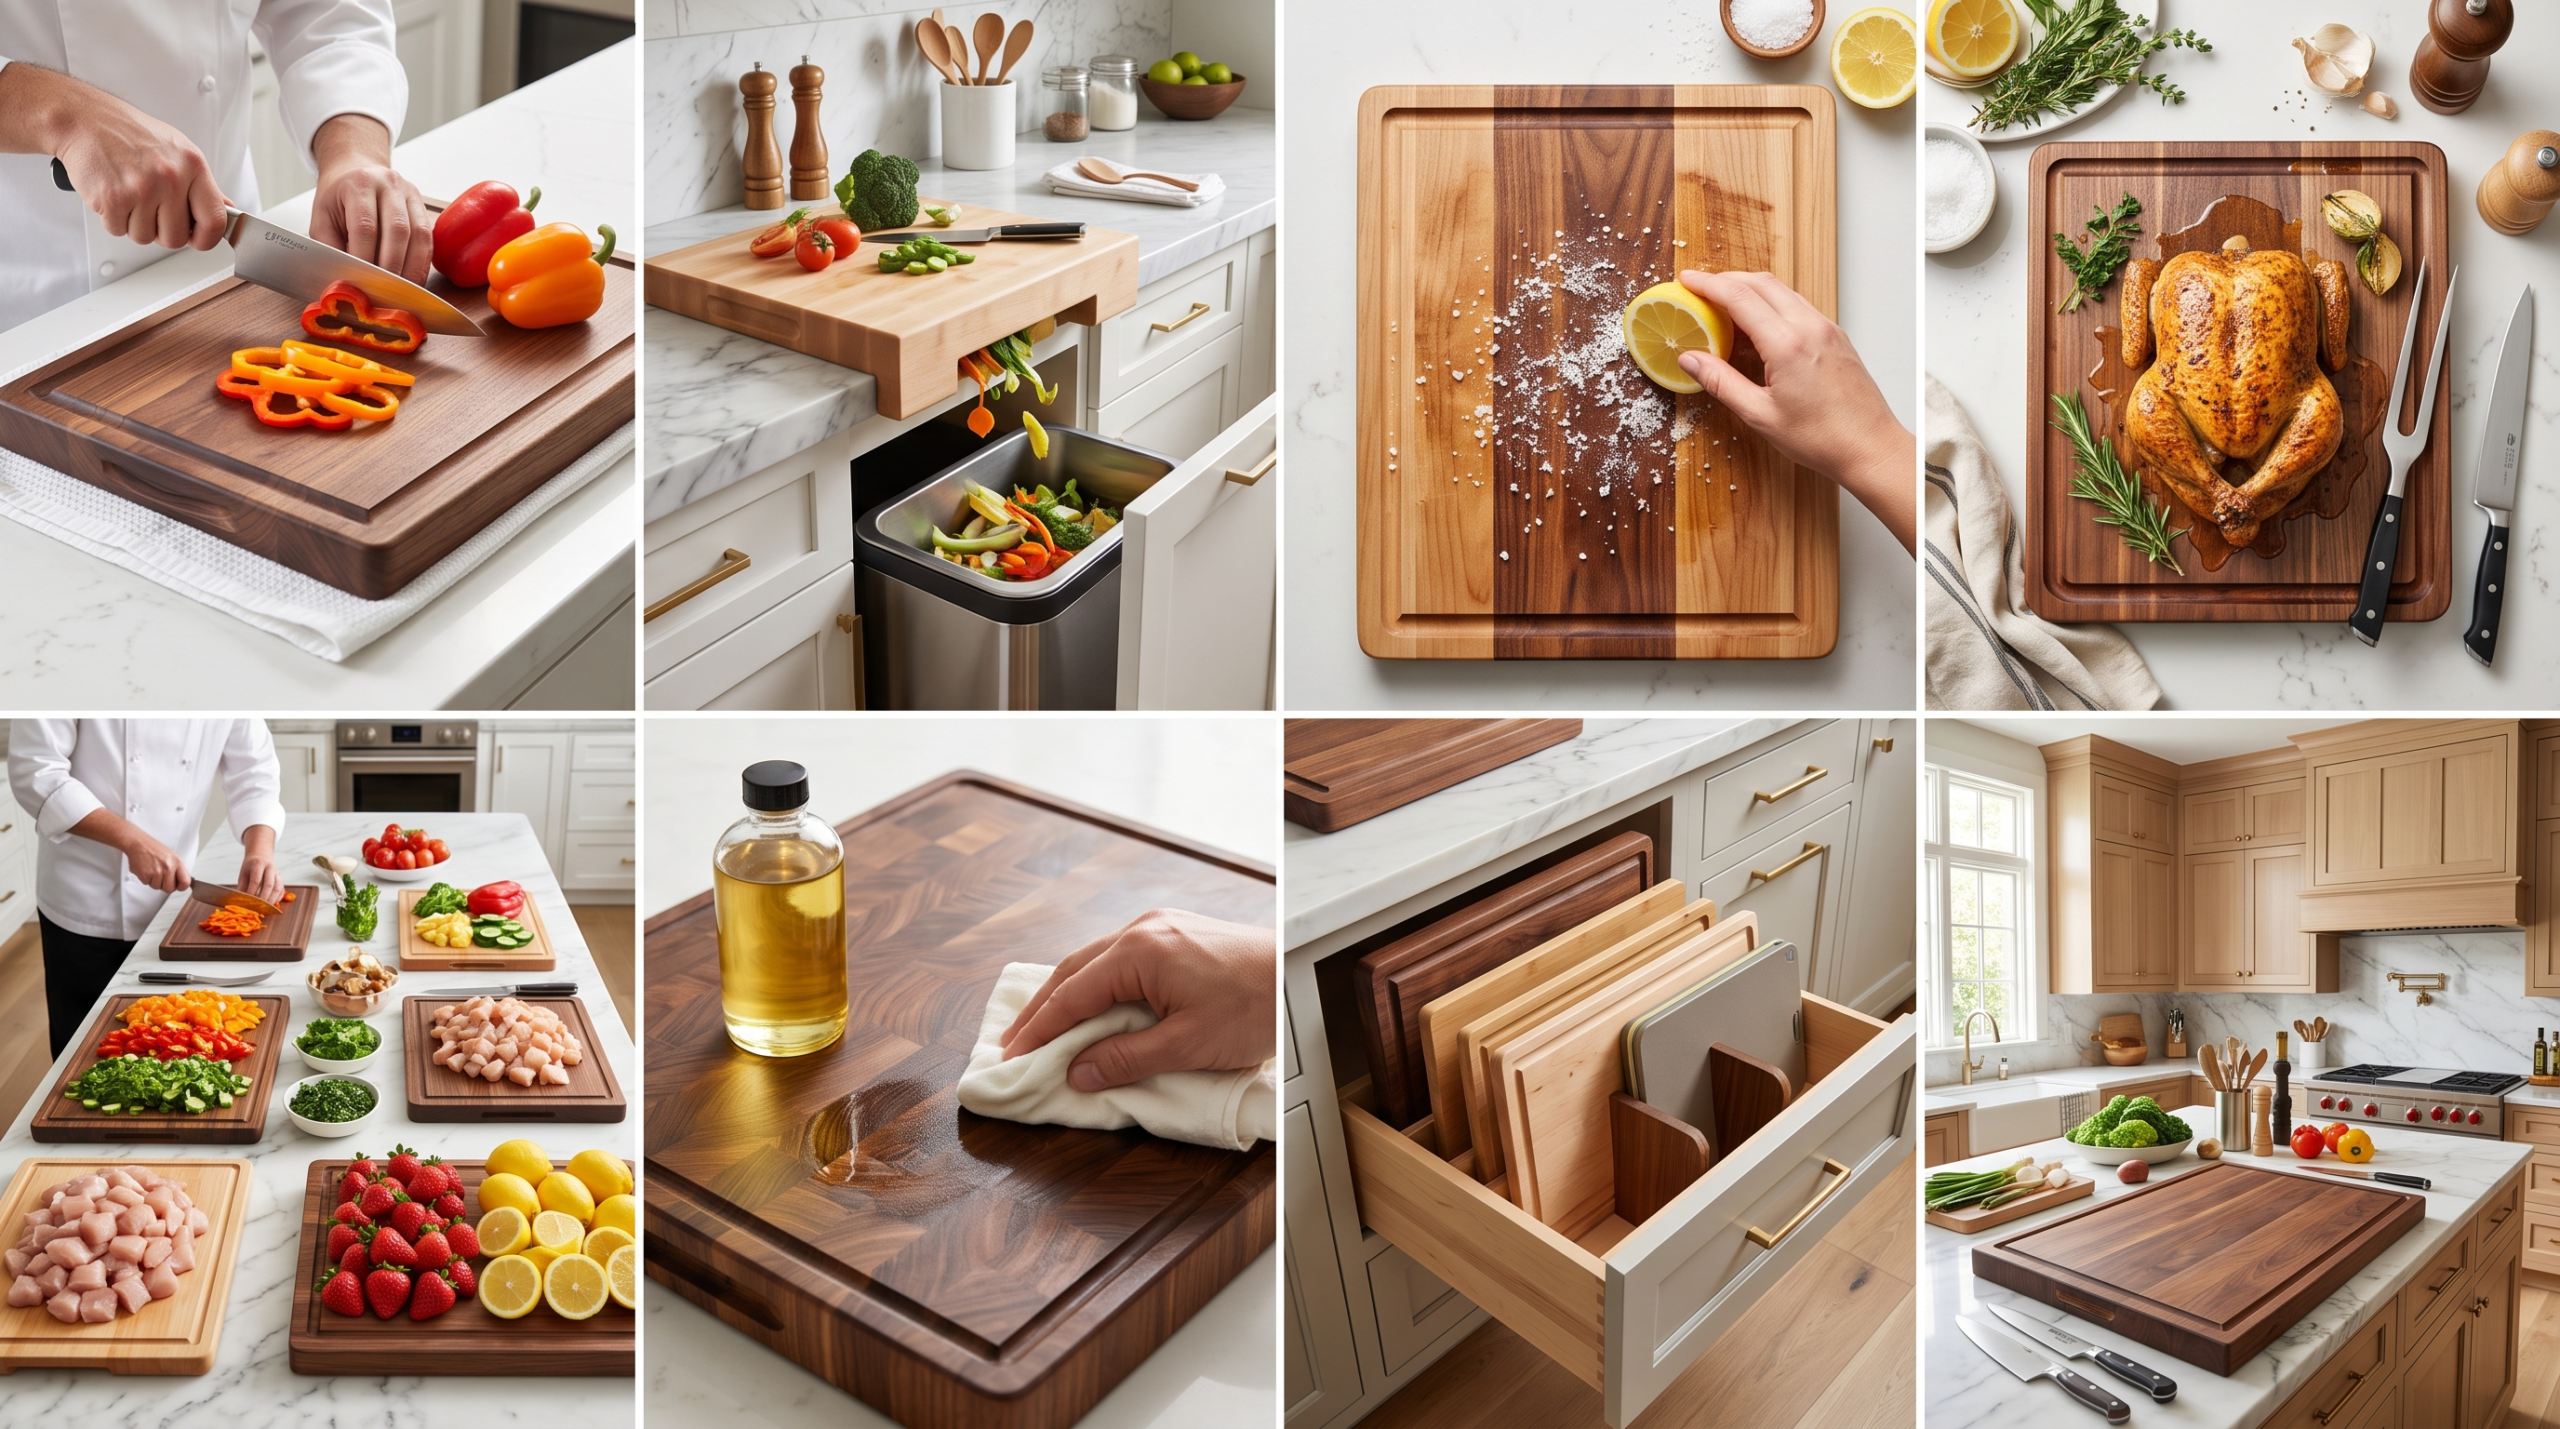
Maximizing the utility of your culinary prep surfaces requires a deep understanding of material friction, moisture physics, and spatial organization. Within the design matrix of the USA Home Bloom hub, a cutting board is not a passive accessory but an active workspace that impacts cutlery sharpness and kitchen sanitation. By implementing pro-grade preservation tactics and smart handling methods, you can elevate your daily meal preparation. Here is an elite blueprint detailing 16 structural tricks and tips to optimize your cutting surfaces.
1. Anchor the Surface with a Damp Microfiber Base

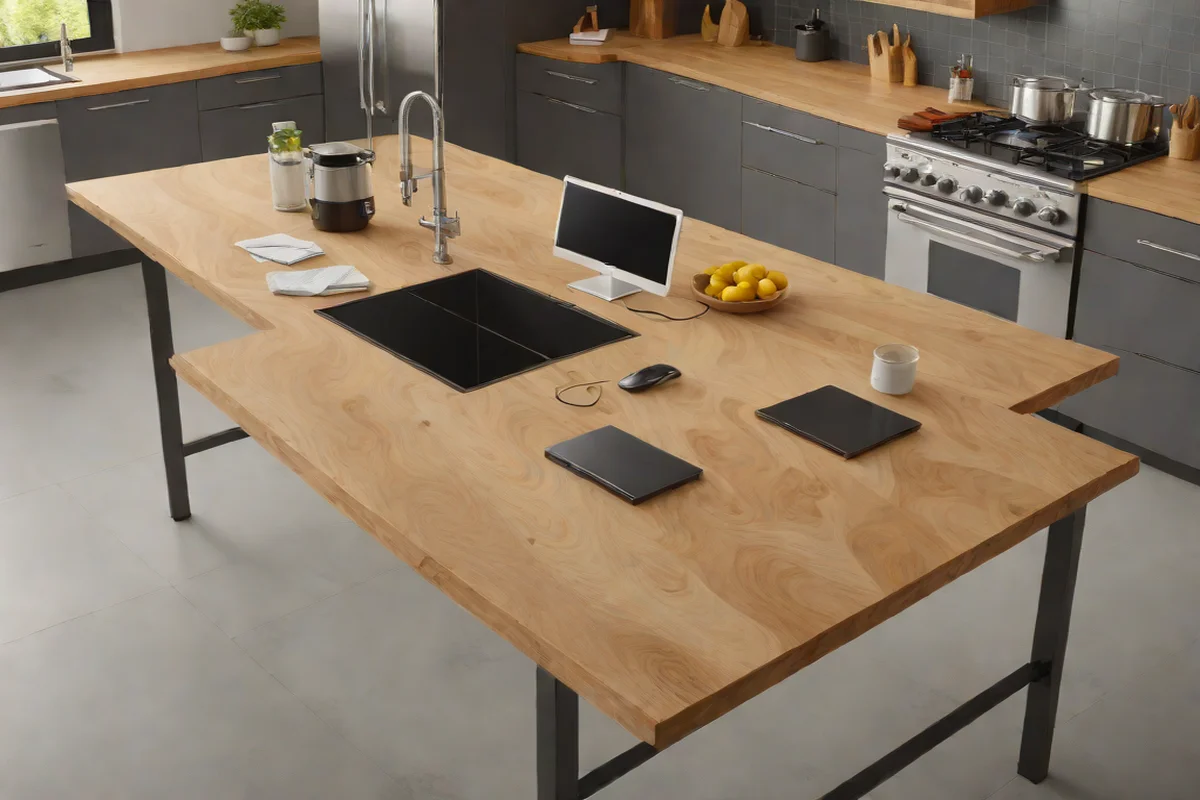
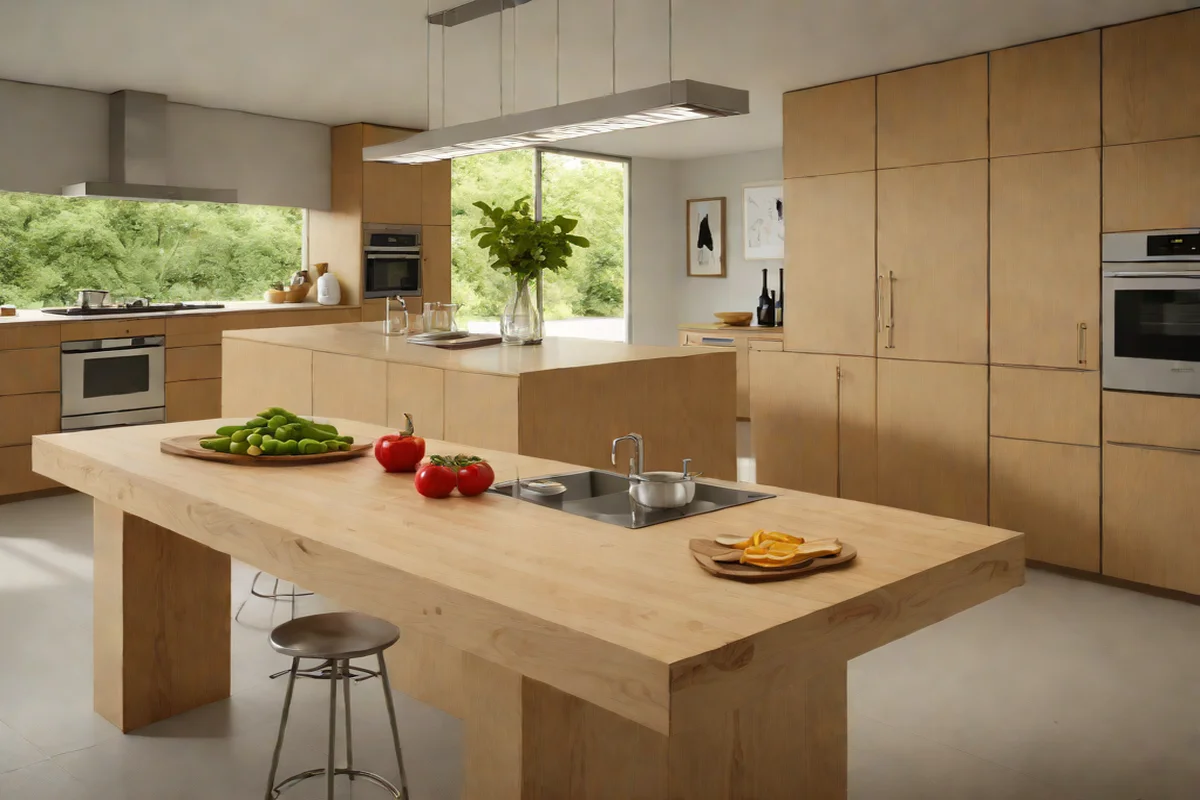
A cutting board that shifts or slides during food preparation presents a serious safety hazard and compromises cutting precision. To lock any lightweight wooden or composite board to a polished quartz or marble countertop, place a flat, damp microfiber cloth or a sheet of wet paper towel directly beneath it. This simple addition creates a high-friction vacuum that eliminates horizontal movement, ensuring stability as you work. This focus on workspace safety pairs naturally with the organized workflows of a modern kitchen island layout.
2. Implement the Board Rotational Protocol

To prevent uneven wear and localized warping, get into the habit of rotating your cutting board 180 degrees every few days, and utilize both sides of reversible planks. Consistently chopping in the exact center or on one specific edge creates deep, concentrated knife scores that weaken the wood fibers over time. Spreading the mechanical impact evenly across the entire surface extends the lifespan of the material. This method ensures your prep zone remains a smooth canvas, reflecting the balanced aesthetics prized in luxurious modern kitchen spaces.
3. Establish a Dedicated Cross-Contamination Barrier

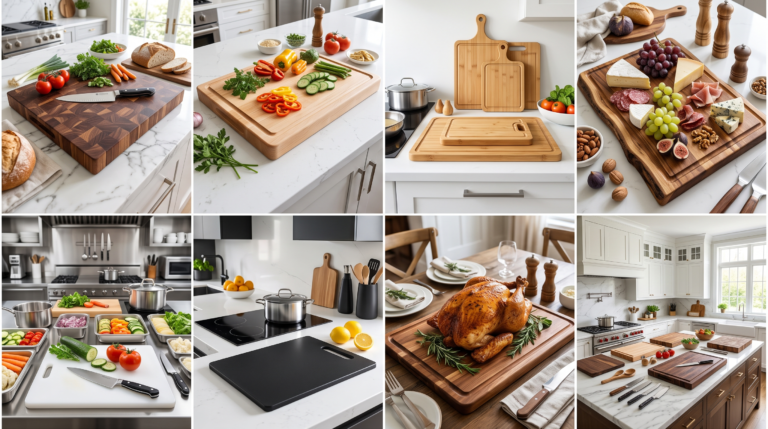
Never prep raw poultry, meats, or seafood on the same porous wooden surface used for fresh produce or ready-to-eat items. Even with thorough washing, deep knife scores in wood can trap microscopic proteins. The most efficient strategy is to reserve dense hardwood blocks exclusively for vegetables and grains, while using non-porous, high-density plastic mats for proteins. Maintaining this strict sanitary division helps streamline kitchen cleanup, a key focus in our guide to essential kitchen knives and professional food prep.
4. Execute a Pure Mineral Oil Hydrophobic Seal

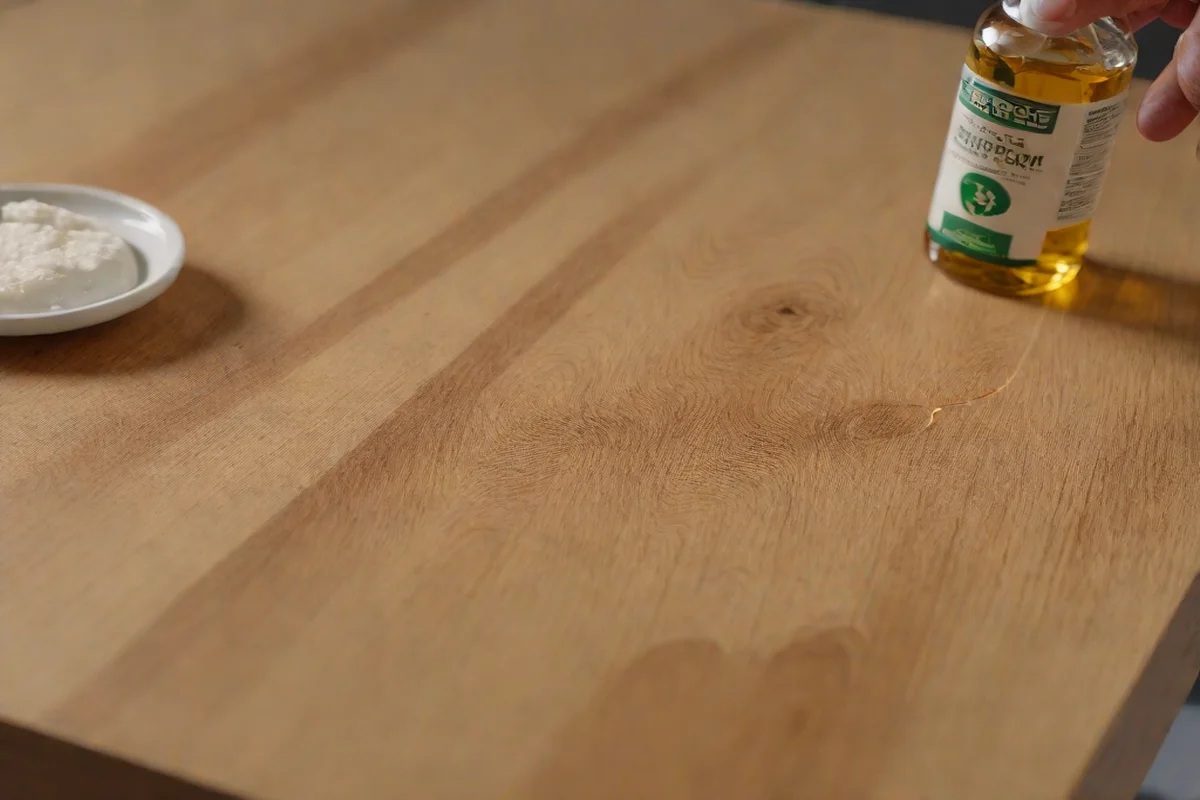
Wooden cutting boards require regular hydration to seal their fibers against ambient moisture and food juices. Once a month, apply a generous amount of pure, food-grade mineral oil to a completely dry board, rubbing it in along the grain. The wood absorbs the oil, creating a rich hydrophobic layer that stops water from soaking in and causing the wood to split or warp. This proactive care routine brings a dependable longevity to your tools, matching the classic durability celebrated in farmhouse kitchen ideas.
5. Fortify the Wood with a Beeswax Blend

While mineral oil provides deep hydration, a secondary application of a melted beeswax blend creates a durable, long-lasting surface shield. Beeswax fills in microscopic knife scratches and builds a smooth satin barrier that repels water and prevents pungent odors from absorbing into the wood. Buffing the cured wax into the wood brings out its beautiful grain pattern, adding a touch of natural elegance that pairs perfectly with a peaceful serene japandi aesthetic.
6. Neutralize Aromatics Using Coarse Kosher Salt and Lemon

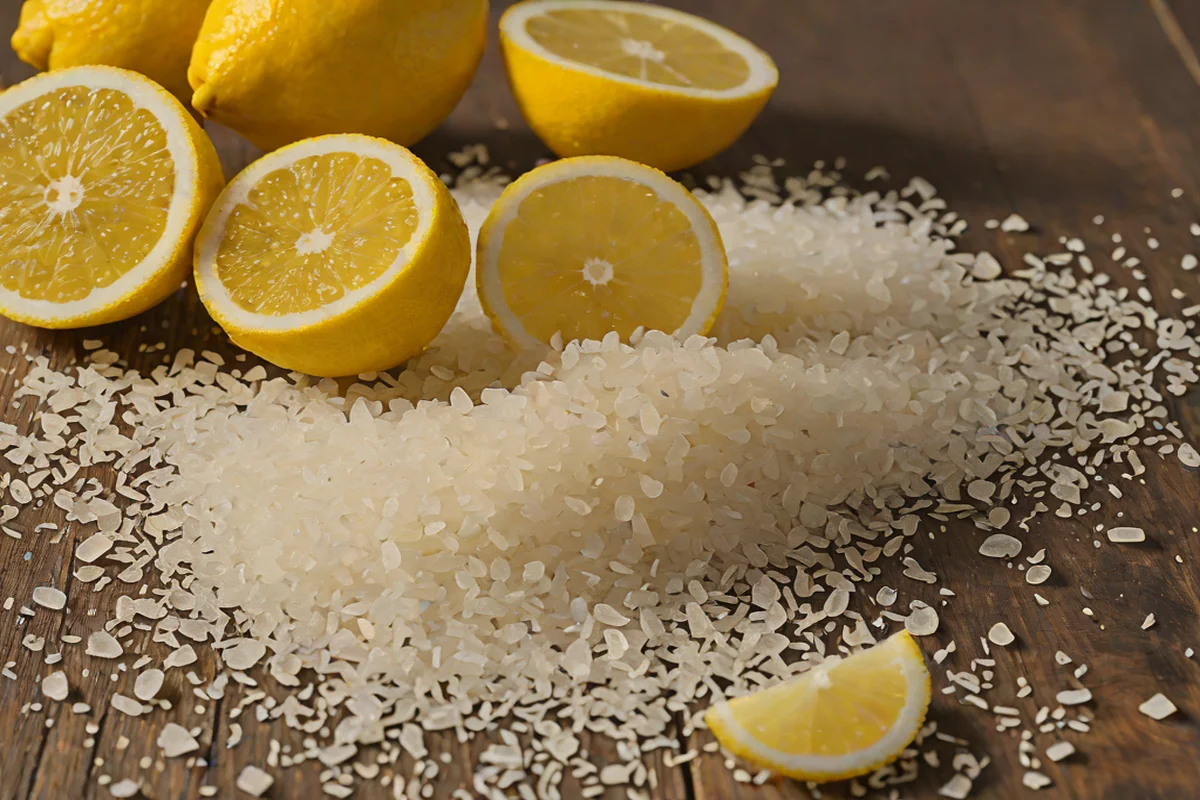
Pungent aromatics like garlic, onions, and scallions leave behind volatile sulfur compounds that can cling to wooden boards long after washing. To eliminate these stubborn smells naturally, sprinkle coarse kosher salt across the surface, squeeze fresh lemon juice over it, and scrub using the cut side of the lemon. The salt acts as a gentle abrasive to lift residues, while the citric acid neutralizes odors without degrading the wood fibers. This refreshing treatment pairs beautifully with a rustic kitchen environment.
7. Eradicate Deep Pigmentation via Baking Soda Pastes

Beta-carotene-rich ingredients like carrots, pumpkins, and turmeric can leave bright orange or yellow stains on white plastic and light wood boards. To lift these deep pigmentations without using harsh chemical bleaches, mix equal parts baking soda, water, and hydrogen peroxide into a thick paste. Spread the paste over the stain, let it sit for fifteen minutes to break down the pigment molecules, and rinse clean. This simple trick keeps your prep surfaces looking pristine and bright.
8. Enforce Vertical Drying Prohibitions

After manually washing a wooden cutting board, never lay it flat on a countertop to dry. Water trapped underneath the board evaporates much slower than moisture on the exposed top surface, causing uneven contraction that leads to bowing or cracking. Always prop the clean board upright on its edge or slide it into a vertical drying rack so air can circulate freely around all sides. This simple habit keeps the board structurally stable, echoing the clean efficiency found in modern bathroom ideas and other streamlined home zones.
9. Utilize the Board Spine for Ingredient Relocation

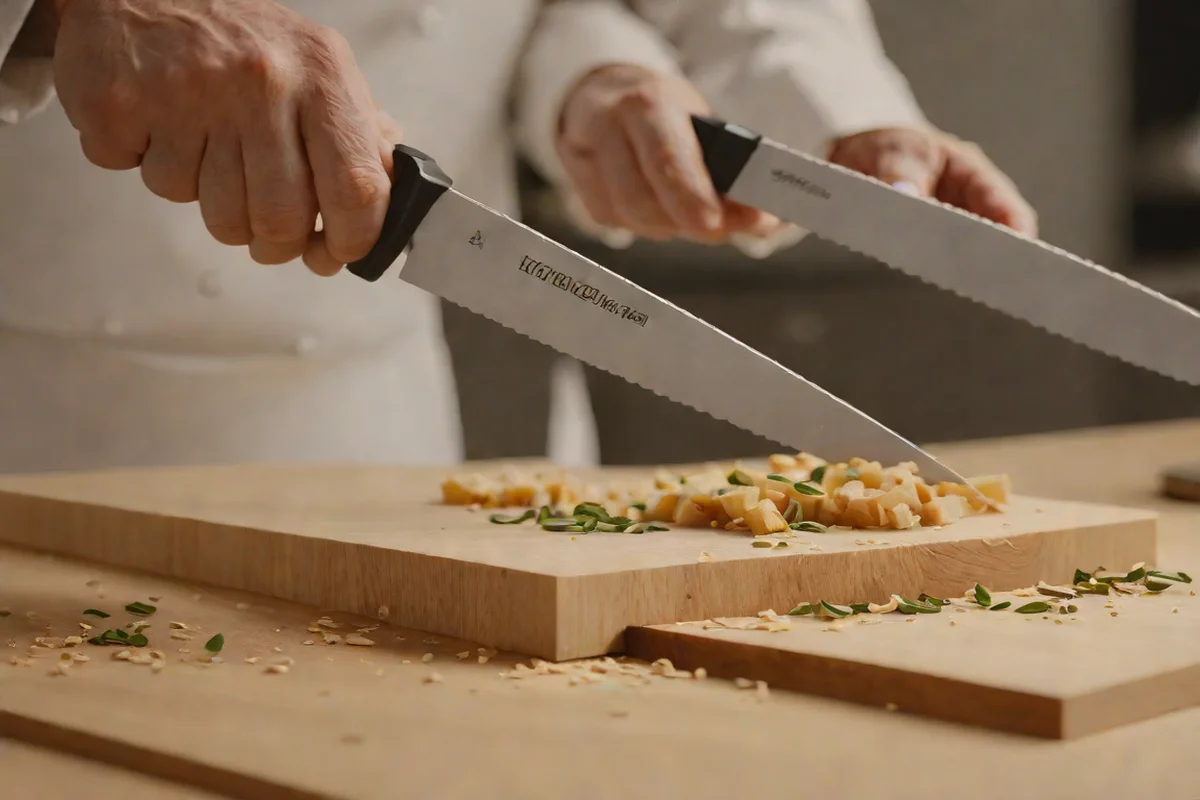
A common habit that rapidly dulls a knife is scraping chopped ingredients off a board using the blade’s sharp edge. This lateral scraping action folds the fine edge over, undoing the benefits of regular honing. To clear your cutting surface safely, simply flip the knife over and use the broad, unsharpened spine to move ingredients. This small adjustment preserves the alignment of the edge and keeps the tool cutting smoothly throughout meal prep.
10. Deploy Fine-Grit Sandpaper for Surface Restoration

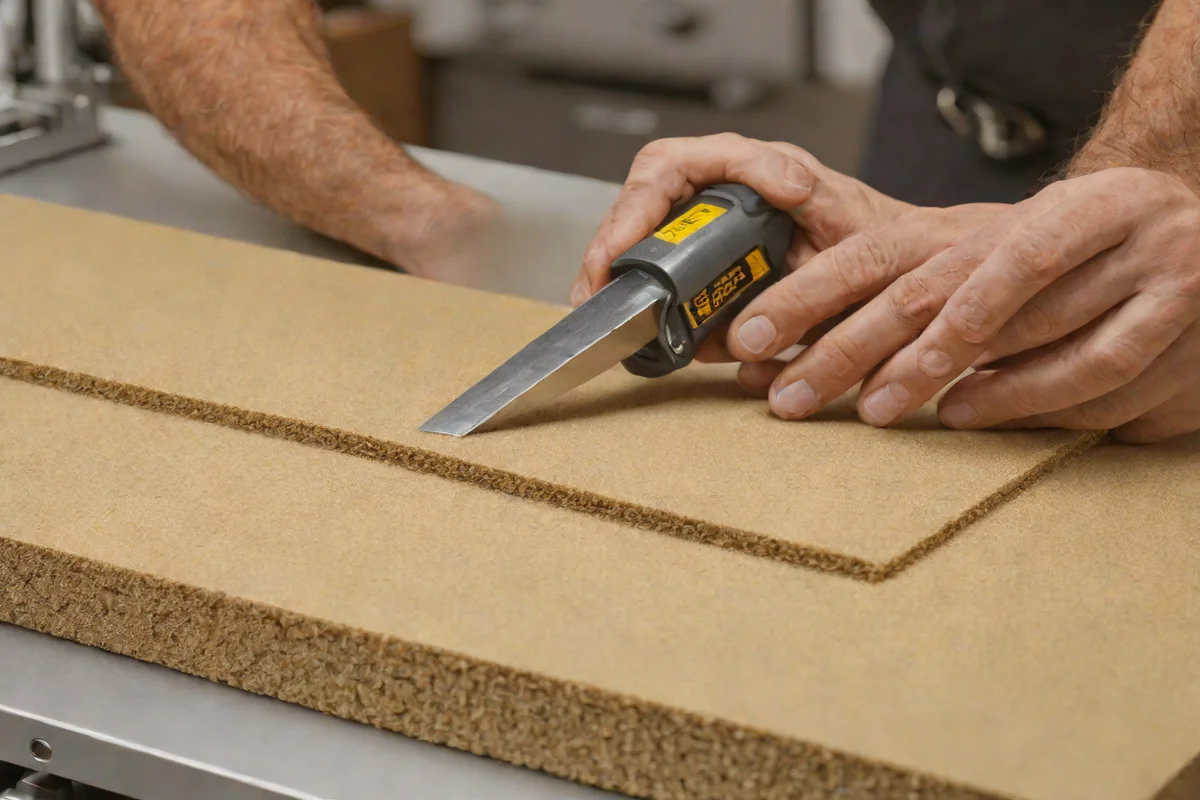
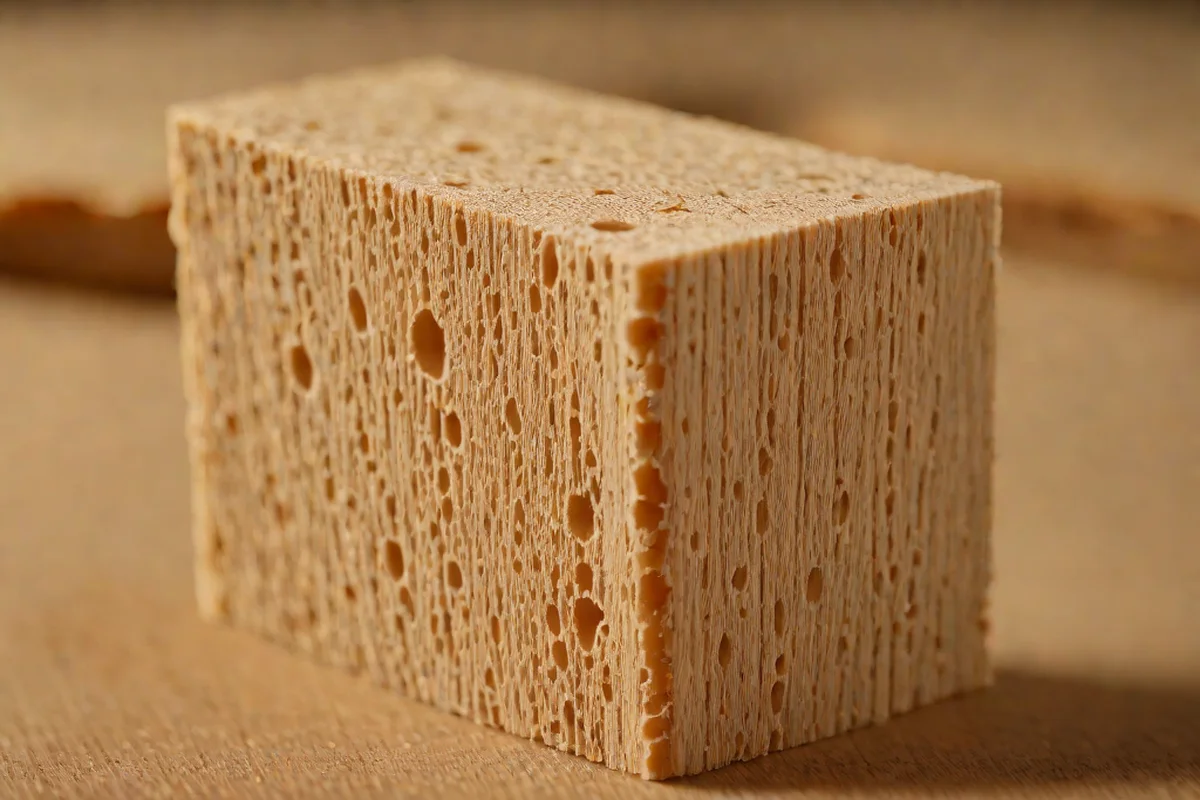
Over years of heavy service, even the finest end-grain blocks will accumulate a network of deep knife gouges and furry wood fibers. To restore a perfectly smooth surface, secure a sheet of 120-grit sandpaper to a flat block and sand the dry board firmly along the direction of the wood grain. Progress to a finer 220-grit paper to polish out any remaining scratches before reapplying mineral oil. This structural restoration extends the lifespan of your board, protecting your investment during a major kitchen remodel.
11. Exploit the Integrated Hanging Hole for Storage Efficiency

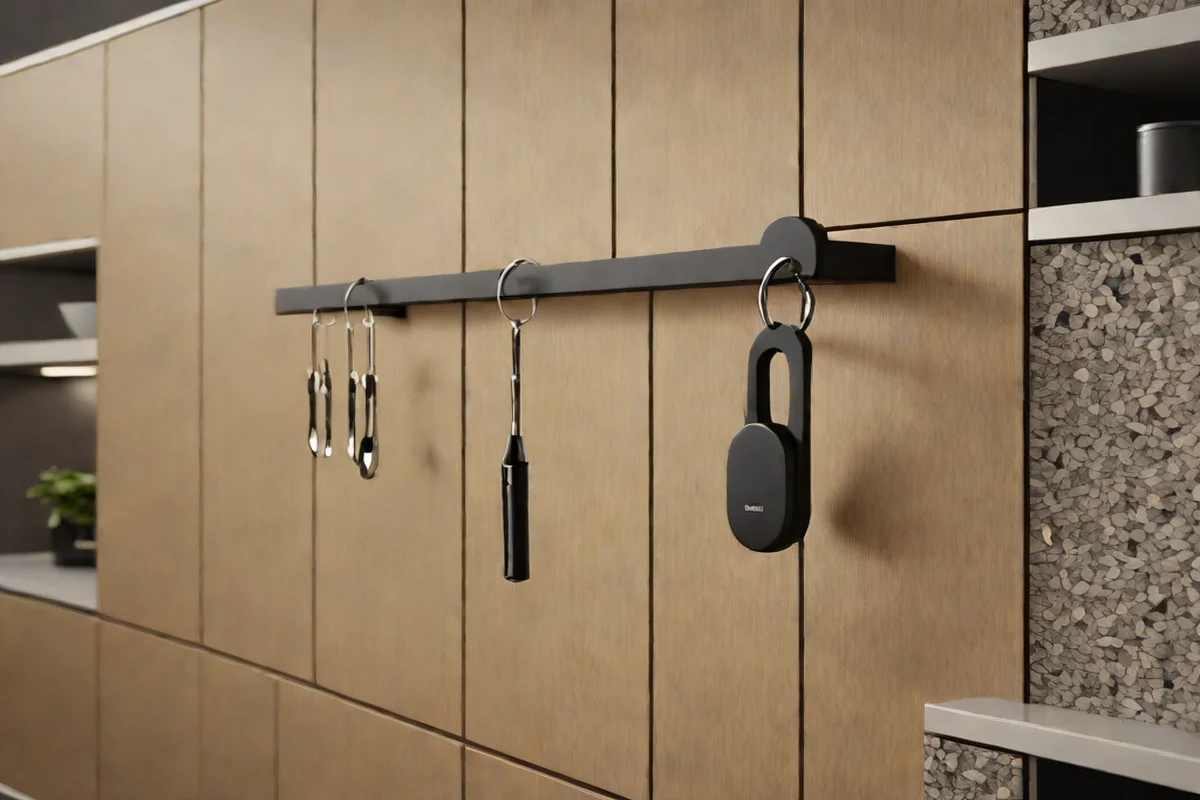
Many contemporary composite and slim wood cutting boards feature an integrated cutout or hole near the top handle rim. Instead of stacking these boards flat in deep cabinets where they can trap moisture, hang them from sturdy brass or matte-black wall hooks. This storage method keeps your boards dry and easily accessible while freeing up valuable cabinet space. Organizing your tools this way supports a smooth, efficient workflow, much like utilizing clever kitchen storage ideas to keep everything in its place.
12. Pre-Hydrate Prior to Processing Highly Acidic Ingredients

Before slicing large quantities of highly acidic items like tomatoes, lemons, or pineapples, wipe down your wooden board with a very thin layer of mineral oil or water. Dry wood acts like a sponge, rapidly soaking up acidic juices that can break down the natural adhesives holding wood blocks together. Pre-hydrating the surface creates a protective barrier, preventing the wood from absorbing excess acid and drying out prematurely.
13. Leverage Custom Silicone Feet for Multi-Surface Stability

If you prefer not to use a damp towel underneath your board, consider attaching small, low-profile silicone feet to the underside corners using food-safe adhesive. These rubberized bumpers grip smooth stone countertops firmly, preventing any slipping while lifting the board slightly off the surface. This elevated clearance ensures air flows underneath the board constantly, keeping it dry and preventing water from pooling underneath.
14. Standardize a Post-Prep Lukewarm Scraping Routine

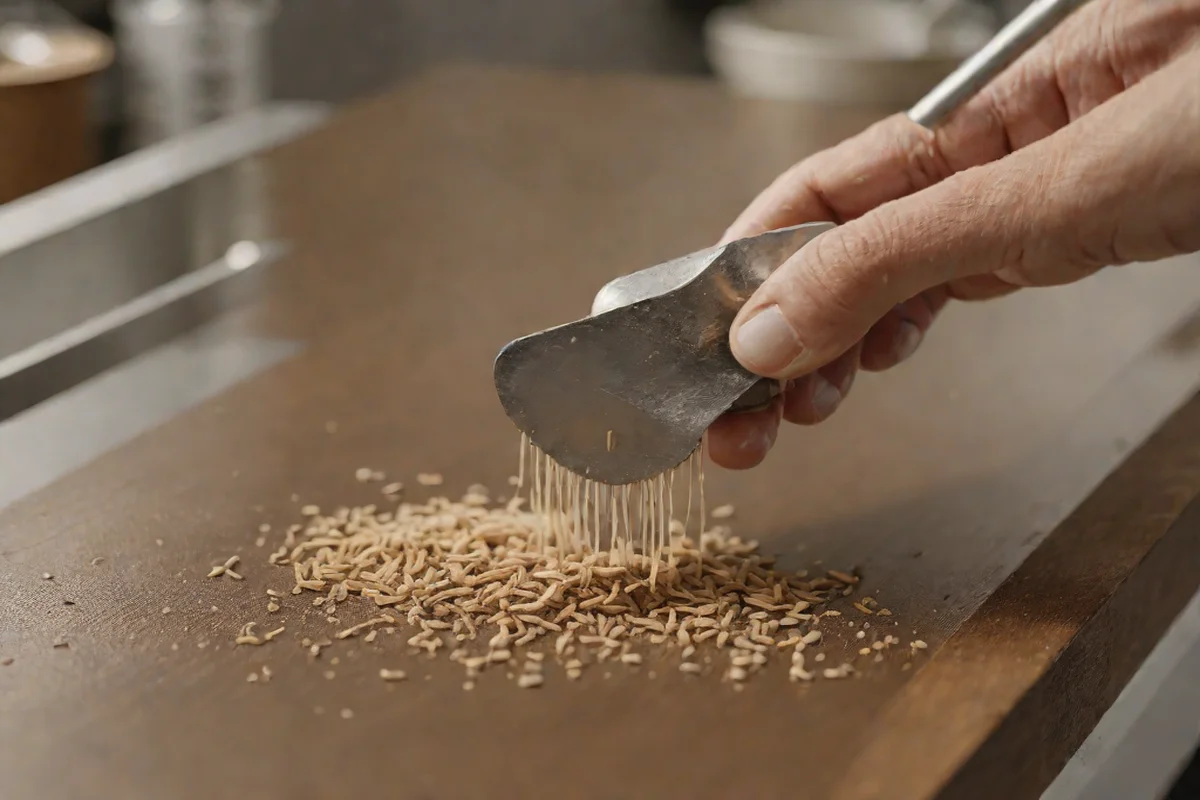
Avoid soaking a soiled wooden board in a sink full of soapy water, as prolonged submersion causes wood fibers to swell and crack. Instead, immediately after prepping, use a flat metal bench scraper to clear away food residues and moisture from the surface. Follow with a quick wipe using a damp soapy cloth and a thorough rinse. This fast, minimal-water routine cleans the board effectively while keeping moisture exposure to a safe minimum.
15. Check and Refine Edge Profiles

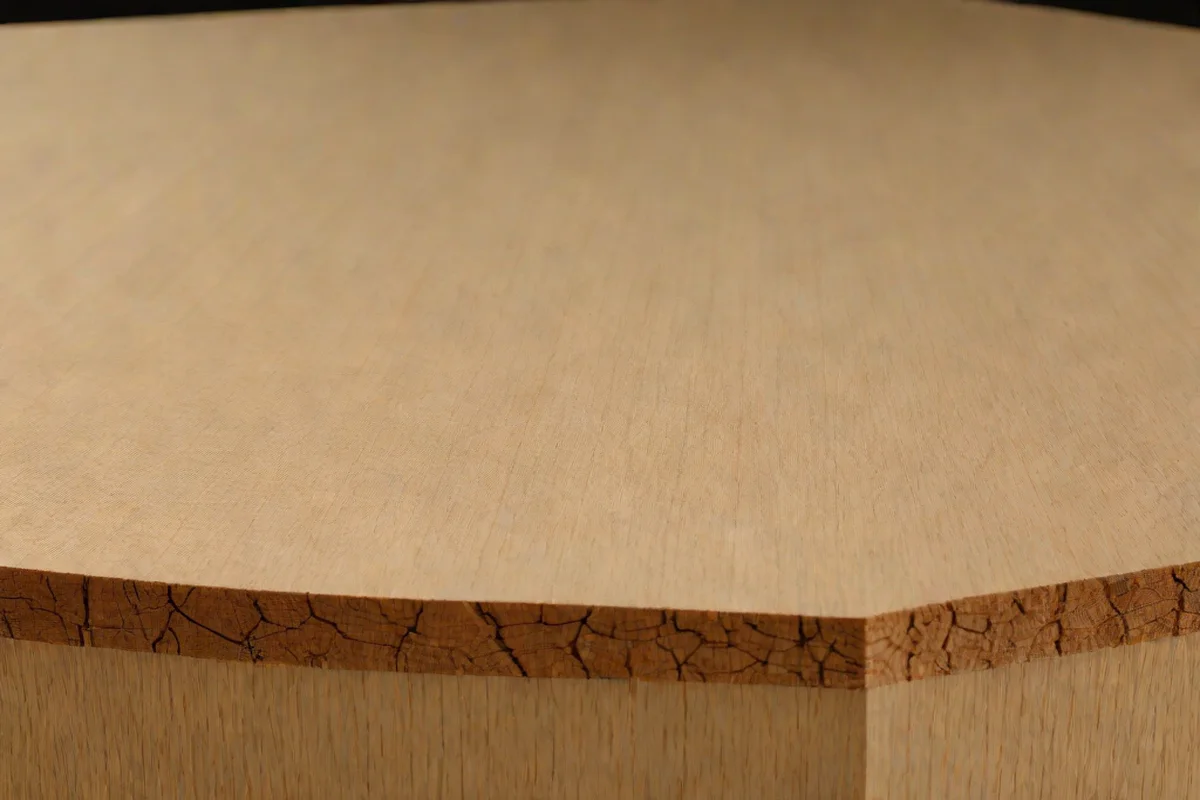
The perimeter edges of heavy wooden chopping blocks should feature a subtle radius or a chamfered bevel rather than a sharp 90-degree angle. Sharp edges are prone to chipping and splintering when bumped against heavy cast iron pans or stone sinks during washing. If your board has sharp corners, use a sanding block to gently round them down. This small adjustment smooths the edge and prevents fraying, keeping the board durable and comfortable to handle.
16. Match Board Thickness to Your Cutting Techniques

The thickness of a cutting board should match your specific style of food preparation. Light, thin composite mats are excellent for quick slicing and quick transport, but they lack the mass needed to absorb heavy impact. For intensive tasks like cleaving bone or processing dense squash, always use a solid chopping block that is at least two inches thick. Matching the board’s density to your cutting technique protects your countertops from damage and keeps your workspace steady.
Frequently Asked Questions Is it safe to use dish soap on a traditional wooden cutting board? Yes, using a mild dish soap with lukewarm water is completely safe for daily cleaning. Soap breaks down surface oils and food residues effectively without damaging the wood. Just avoid submerging the board in water or using harsh abrasive scrubbers, and always dry it immediately after rinsing to prevent moisture damage. Can I use standard vegetable oil or olive oil to season my wooden board? No, you should never use cooking oils like olive, vegetable, or canola oil to season a cutting board. Because these are organic fats, they will eventually oxidize, turn rancid, and create a sticky, bad-smelling film on the surface that can spoil your food. Always use stable, food-grade mineral oil instead.
How often should I sand down my wooden chopping block to keep it fresh?
For typical residential use, a wooden block only needs to be sanded down once every few years, or when the surface becomes heavily scarred with deep knife tracks that trap food. Sanding removes a tiny layer of wood to reveal a fresh, smooth surface, which should always be treated with mineral oil immediately after.
Why is an end-grain cutting board considered better for expensive knives?
End-grain boards are built with the wood fibers facing vertically, meaning your knife blade slips between the fibers during a cut rather than slicing across them. This flexibility allows the wood to absorb the impact gently, keeping your knife edge sharper for much longer compared to harder edge-grain surfaces. Curation and Explore Your Entire Home Layout Ready to expand these high-performance design and styling strategies across the other active thresholds of your estate? We invite you to continue your design journey by exploring our comprehensive structural chronicles and expert lifestyle manuals across the entire USA Home Bloom Platform. Dive into our meticulously curated digital gallery to unlock advanced space-saving secrets, pro-grade color curation strategies, and expert home optimization rubrics that allow your home’s natural paths and your own personal clarity to truly bloom!